2017 Recap!

Wow, the last time I updated this blog was back in July!  I've been spending some time reflecting on this past year and making plans for 2018.  

Burnt Out

This past year was honestly a little weird for me.  I think it actually started 2 years ago...I spent a lot of 2016 at my craft table creating calligraphy envelopes and place cards for so many brides (which I loved!).  But I basically spent all of my free time and vacations working on Etsy orders.

I would teach all day, and then work on calligraphy orders all night.  I was super burnt out and there was a lack of balance in my life.

Fontmaking Territory

In 2017, I decided to step back from doing so many wedding envelopes and place cards and look at other ways to use my love of calligraphy and art.  The first few months of the year, I was still working on calligraphy place card and envelope orders, In March, I stumbled upon Teela Cunningham's font-making course and I took a chance and signed up.  

I was super intimidated in the beginning, but I ended up creating 2 fonts!  It has been a dream of mine to create a font ever since I was in middle school so this was amazing!

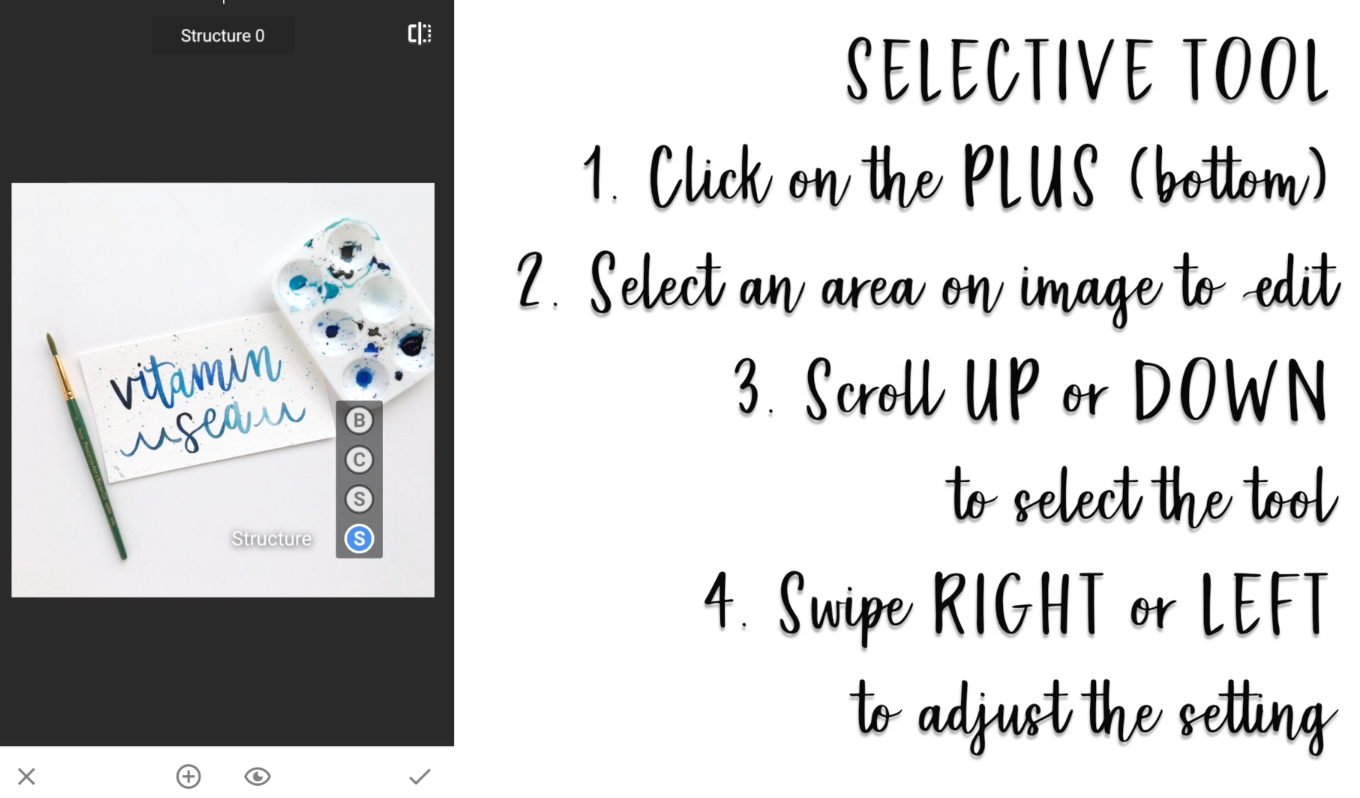
Through Teela's font-making course, I started learning about digitizing lettering and artwork with Adobe Photoshop and Illustrator and also started getting intrigued with iPad lettering.  I started digitizing some of my cards and lettering which was a game changer. I could now create a design and print it over and over again, instead of creating the same card repeatedly by hand.

I'm still learning about all of this, but digitizing my watercolor and calligraphy work has opened up a whole new world!  The photo below shows some of the cards that I digitized using my watercolor florals.

Watercolor Bootcamp & Filming for the First Time

Another crazy opportunity that happened was being invited to be an instructor in Watercolor Bootcamp created by my good friends Joyce Gutierrez and Jisun Park!  This was definitely a new experience for me.  I filmed a video lesson on how to paint watercolor desserts and foods and also how to digitize your watercolor work to put it on cards.  

Filming in the middle of a Los Angeles summer in my little apartment with no professional filming equipment was challenging, but also a huge learning experience!  To practice editing and doing a voiceover, I created a YouTube channel, and uploaded exactly one video.  Oops!  It's my goal to get some more tutorials up on my channel.  If you have any requests or ideas, please comment below!

Instagram Algorithm Changes

During the middle of all of this, I started noticing that I was losing a lot of followers on Instagram.  I know that it's so dumb to focus on the numbers, but it was really frustrating to see my numbers stay stagnant after seeing steady growth for a period of time.  

Every time I posted something new, I would lose a few followers...which was very disheartening and almost made me want to stop posting.

MadebyJaneforYu_Instagram

I learned that a lot of this had to do with the Instagram's new algorithm and a lot of people were very angry about this. I'm trying my best to not focus on the numbers and shift my focus to creating the best content that I can and also remember why I started lettering - because it's fun and I love doing it!

An Early Christmas Present!

Finally, a few weeks ago, I was able to get an iPad as an early Christmas gift!  WHOA!  I had been eyeing the iPad Pro for a while, and had always thought it would make the digitizing process so much easier.  

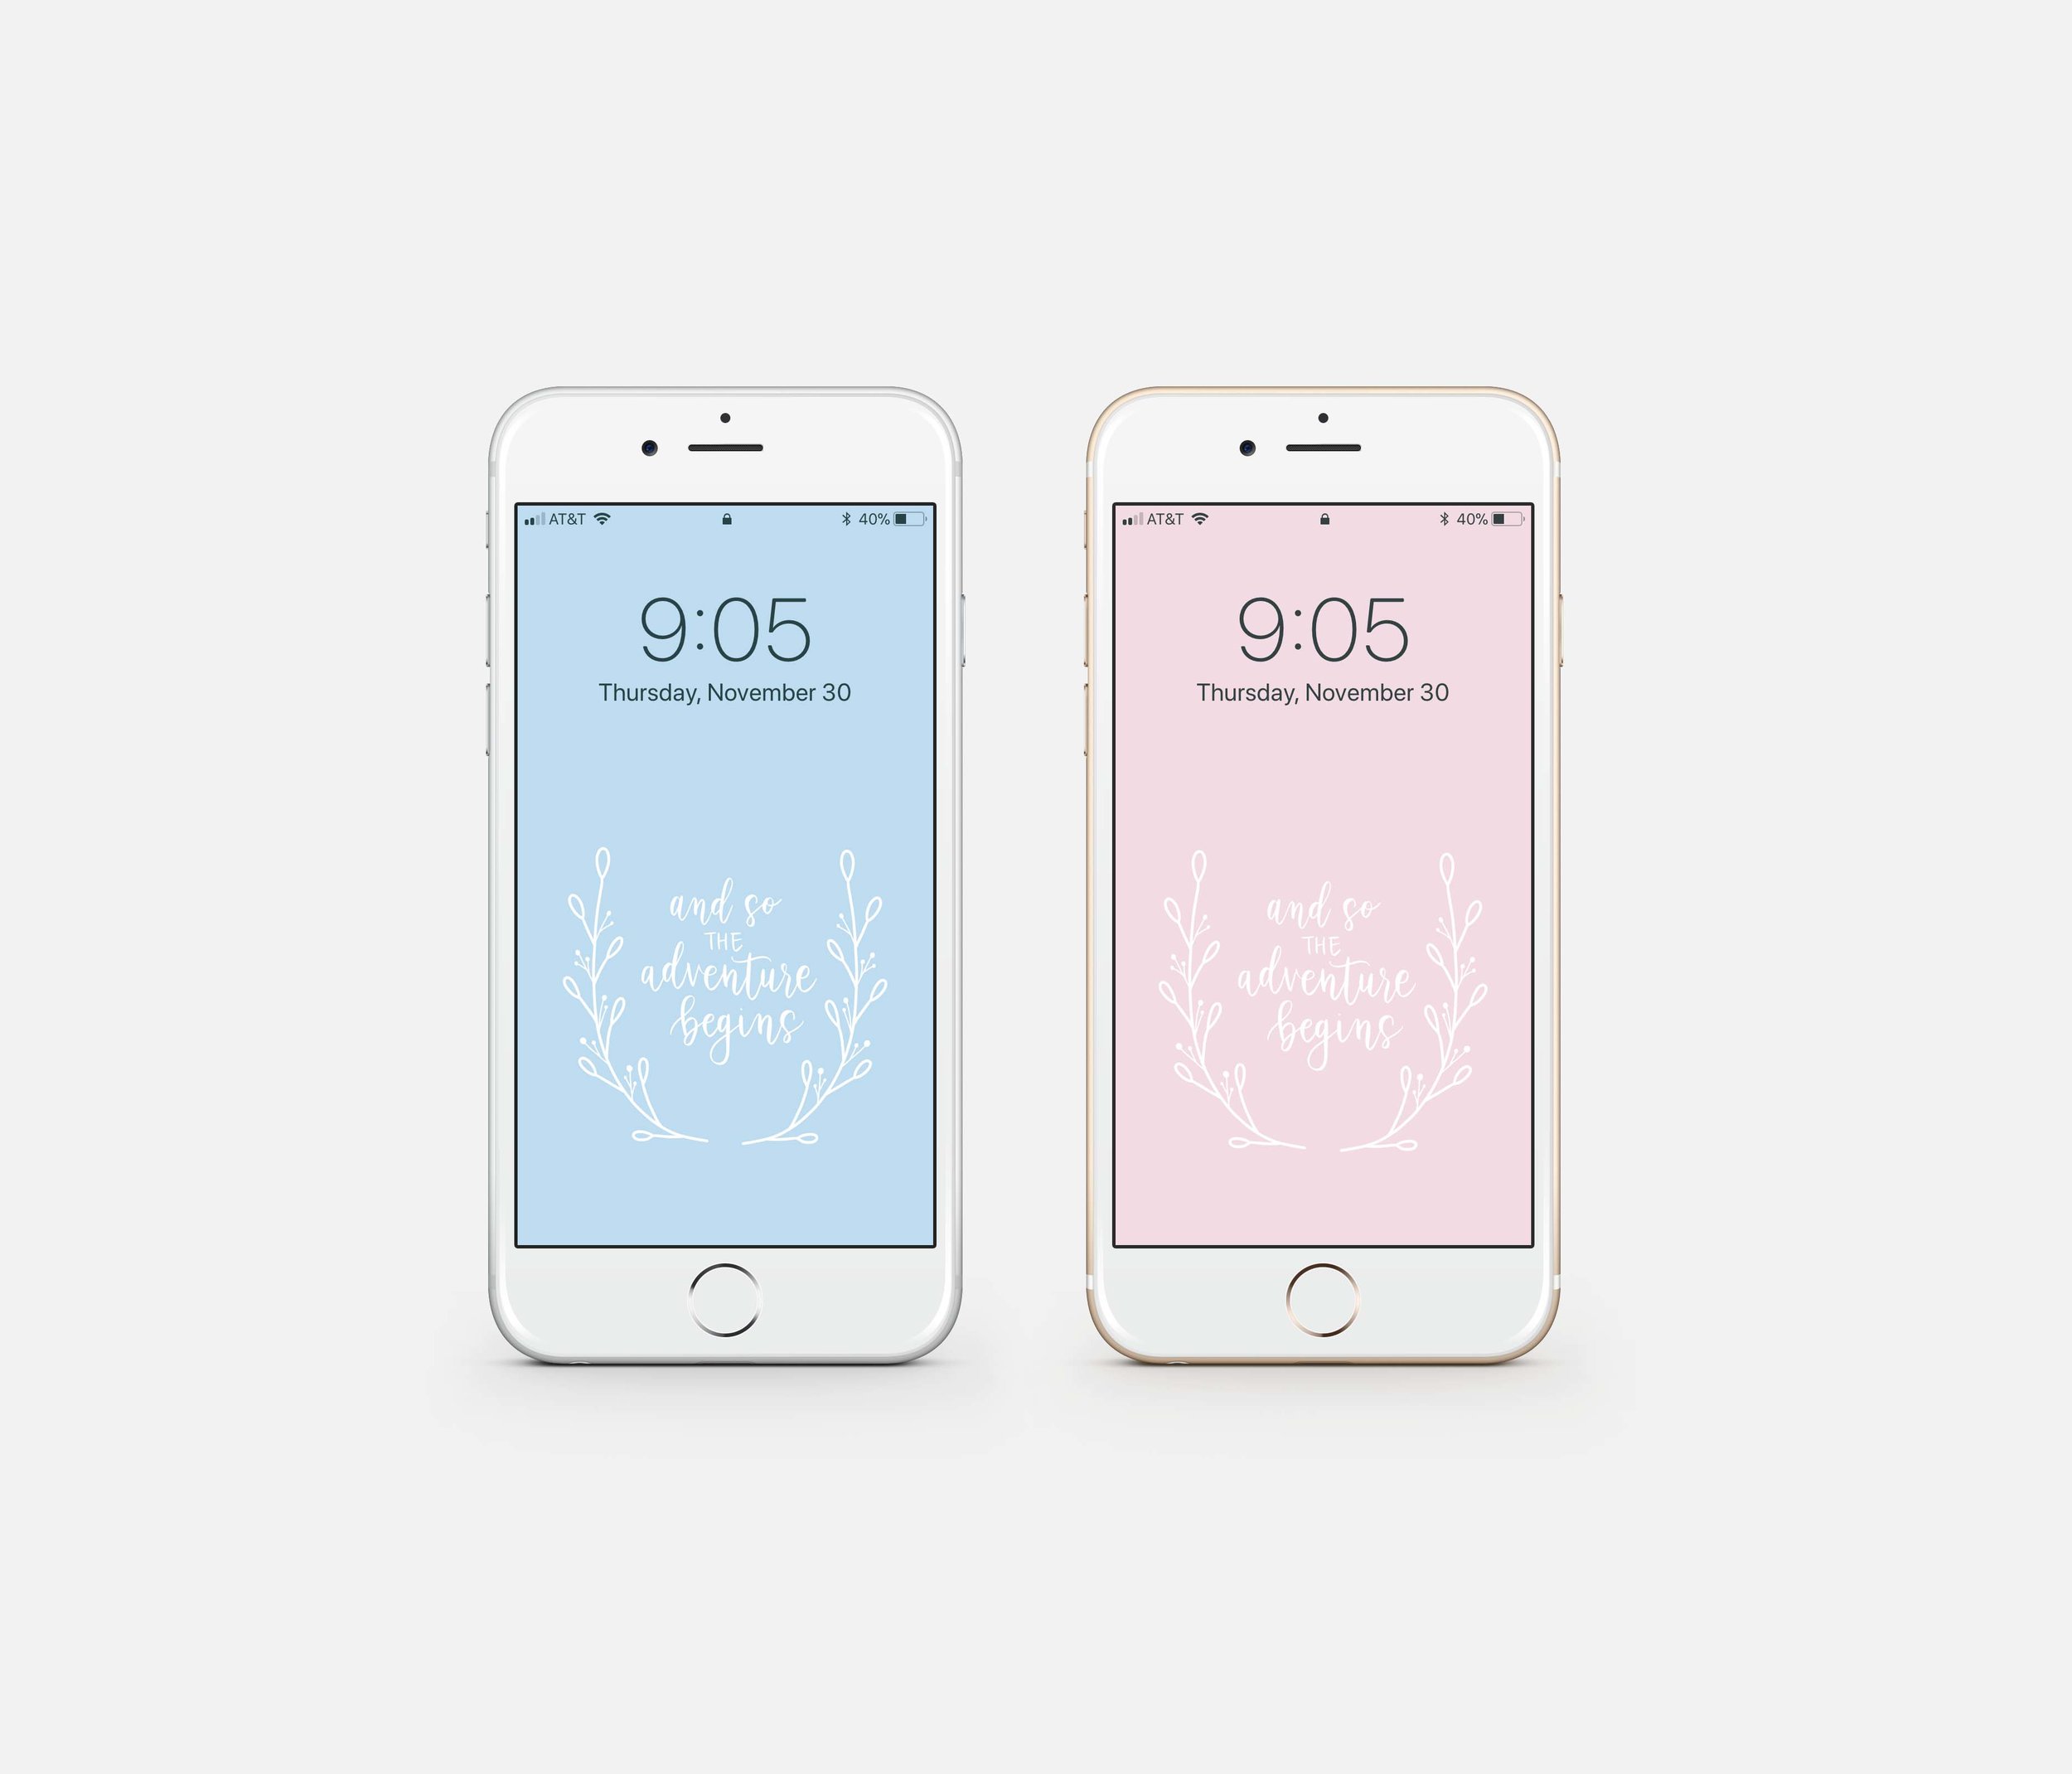
I was super surprised when I was joking around with my husband that I wanted an iPad for Christmas and he said that he thought we could make it work.  So be prepared for much more iPad content in 2018!  I lettered this New Year's photo on the iPad using the Procreate app...the best part is you can letter from your couch!

ipadlettering-january1.jpg


Looking Forward

I'm super excited to see what the new year holds.  I love the feeling of fresh starts that the new year brings.  I'm hoping to create some more digital products this year and have another font in mind.  I'm still figuring things out, but I've decided that it's okay not to have everything figured out right at this moment.

If you got this far, thanks so much for reading!  Hope that your new year is off to an amazing start!


January Freebies

I created some Goal Setting Worksheets and phone wallpapers for my subscribers.  Make sure that you're subscribed to my email list to get access to monthly freebies and downloads.

goalsetting-2018.jpg
January-PhoneDownloads.jpg

How to Use Snapseed to Edit Your Lettering

For a long time, I struggled with taking photos that ended up looking yellow or blue because of bad lighting.  The best way to take good photos is to use natural light, but that is not always possible.  During the school year and especially in the winter, I can only take photos in natural light on weekends.  In this blog post, I'll show you how I use my iPhone to edit my photos and make them insta-ready!

My go-to app for editing photos on my phone is Snapseed.  It's a free Google App that is available for iPhone and Android.  This app used to be a paid app, but now it's free!  It's a powerful app that allows you to edit your photos wi…

My go-to app for editing photos on my phone is Snapseed.  It's a free Google App that is available for iPhone and Android.  This app used to be a paid app, but now it's free!  It's a powerful app that allows you to edit your photos without using programs like Photoshop.

After you open your image on Snapseed, click on the Pencil at the bottom of the screen to bring up all your tools.

After you open your image on Snapseed, click on the Pencil at the bottom of the screen to bring up all your tools.

I like to start by adjusting the White Balance of my image.  This makes it so that the areas of your image that are supposed to be white actually look white (and not yellow, blue, or another color).

I like to start by adjusting the White Balance of my image.  This makes it so that the areas of your image that are supposed to be white actually look white (and not yellow, blue, or another color).

To adjust the White Balance, just click on the eye dropper at the bottom of your screen.  Then select any spot on the image that is supposed to be white.  You can move around the image and see how your photo changes.Once you are happy with…

To adjust the White Balance, just click on the eye dropper at the bottom of your screen.  Then select any spot on the image that is supposed to be white.  You can move around the image and see how your photo changes.

Once you are happy with the balance, click on the check at the bottom of your screen to save.

It's already so much better!

It's already so much better!

Next, I like to use the Tune Image tool.  This tool allows you to change the Brightness, Contrast, Saturation, Highlights, etc.  Just scroll up and down on the screen to select the different tools.

Next, I like to use the Tune Image tool.  This tool allows you to change the Brightness, Contrast, Saturation, Highlights, etc.  Just scroll up and down on the screen to select the different tools.

Once you have a tool selected, swipe right or left on the screen with your finger to increase or decrease the tool you have selected.  Keep playing around with the tools.  There is no one formula for editing since each picture that you edi…

Once you have a tool selected, swipe right or left on the screen with your finger to increase or decrease the tool you have selected.  Keep playing around with the tools.  There is no one formula for editing since each picture that you edit is going to be different.

When you are happy with your image, make sure to save by clicking on the check.  (It's the worst when you forget this step!)

When you are happy with your image, make sure to save by clicking on the check.  (It's the worst when you forget this step!)

The last tool that I like to use is the Selective Tool.  This tool is awesome because you can edit specific areas of your photo without changing the whole image.  For example, you can change the brightness of the background without affecti…

The last tool that I like to use is the Selective Tool.  This tool is awesome because you can edit specific areas of your photo without changing the whole image.  For example, you can change the brightness of the background without affecting the brightness of your lettering.

With the Selective Tool, you can adjust the Brightness, Contrast, Saturation, and Structure of the parts of the image that you select.  

With the Selective Tool, you can adjust the Brightness, Contrast, Saturation, and Structure of the parts of the image that you select.  

Try not to brighten the image too much or your lettering will start to disappear into the background.  You can always go back and turn down the brightness or click on the X to start over if your image is starting to look a little too crazy.

Try not to brighten the image too much or your lettering will start to disappear into the background.  You can always go back and turn down the brightness or click on the X to start over if your image is starting to look a little too crazy.

Once you're happy with everything, Save a Copy so that you don't lose your work!  I like to keep my original image just in case I ever want to go back and edit something.Thanks for reading!  If you have any questions or have an idea for an…

Once you're happy with everything, Save a Copy so that you don't lose your work!  I like to keep my original image just in case I ever want to go back and edit something.

Thanks for reading!  If you have any questions or have an idea for another tutorial or blog post, leave me a comment below!


In this video, I will show you how I use the Google App, Snapseed to edit my lettering photos before I upload them on social media. This works perfectly for when you don't have access to good lighting for your photos!